How to install a MySQL Database using cPanel Hosting Panel using x3 Theme
First thing to do is login to cpanel and scroll the to the bottom.
Many times you can access your cpanel by going to http://www.yoursite.com/cpanel
For this example we will be using the x3 theme with a modified template. The colors on yours might be different but everything should be laid out the same.
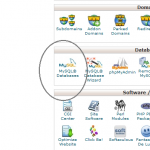
Select the option that says MySQL Databases.
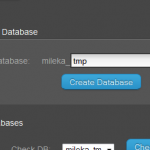
Next we will need to setup the database.
Notice how to the left of the textbox it says “mileka_”, this means my database name will be mileka_tmp
Pick a name you would like to use, for this example i will be
using tmp as this is only a temporary database for this example.
Pick anything you would like, testimonials would work fine.
Our new database is now mileka_tmp
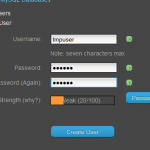
Now that we have created a database we will need to create a user account for the database.
This can be anything you would like, some people will use the database name as the user.
For this example we will be using tmpuser because as we said before this is only temporary. We suggest using the “password generator”
Now our new database name is mileka_tmpuser
So we’ve got our database setup and our username setup,
now we need to add the user to database so it keeps our database “secure”.
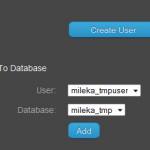
If you scroll to the bottom of the same page we have done everything else on you will see something that looks like the image to the left.
Select the database your username that we just setup.
Click the add button.
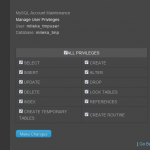
This will bring us to the section where we can specify privileges for the user account.
Since have no reason to not allow our user all permissions, and we don’t know exactly what it will need.
Just select all privileges and it will select everything for you.
Click make changes.
That’s it! Easy right?
We have now setup a MySQL database through cPanel and added a user with full privileges to that database.
-
Anthony


